Artivism Part 2: Paper-Mâché & Paint

In the past years, every time I planned to join a climate action, I asked myself whether I could do something creative beyond writing an improvised sign with marker on a shoddy piece of cardboard in the train on the way to the event, but I never found the time or inspiration. I suspect this goes for many activists, especially those, like me, who are not regularly creative in such ways. Creativity is often discouraged after elementary school, when kids are expected to focus on supposedly more serious matters and pursue a proper career. Because of this, I consider artivism not just a valuable way to strengthen a social movement, but also as resistance against those capitalist forces pushing us all into the straightjacket of obedient, productive, and mindless consumerism and citizenship. If we want to work towards a different kind of society, we need to go beyond just fighting to dismantle the system, but also nourish the values and skills that are important for healthier societies. (This also fits well with XR's focus on regenerative culture.) So as soon as I found a window of time, I did some research and got creative at home for the next climate action!
In this blog post, I describe my recent experiences building a big paper-mâché vampire head and making a protest sign, with practical tips. This was just a little project I did by myself, since I live in a rural area a bit far from local activist groups, but obviously a lot more is possible when you can combine the creative imagination, skills, labor and materials in a group setting (see also the examples in Artivism Part 1: Introduction & Examples). Many XR groups have art specific art circles and/or regularly organize art events.
Making a paper-mâché vampire head
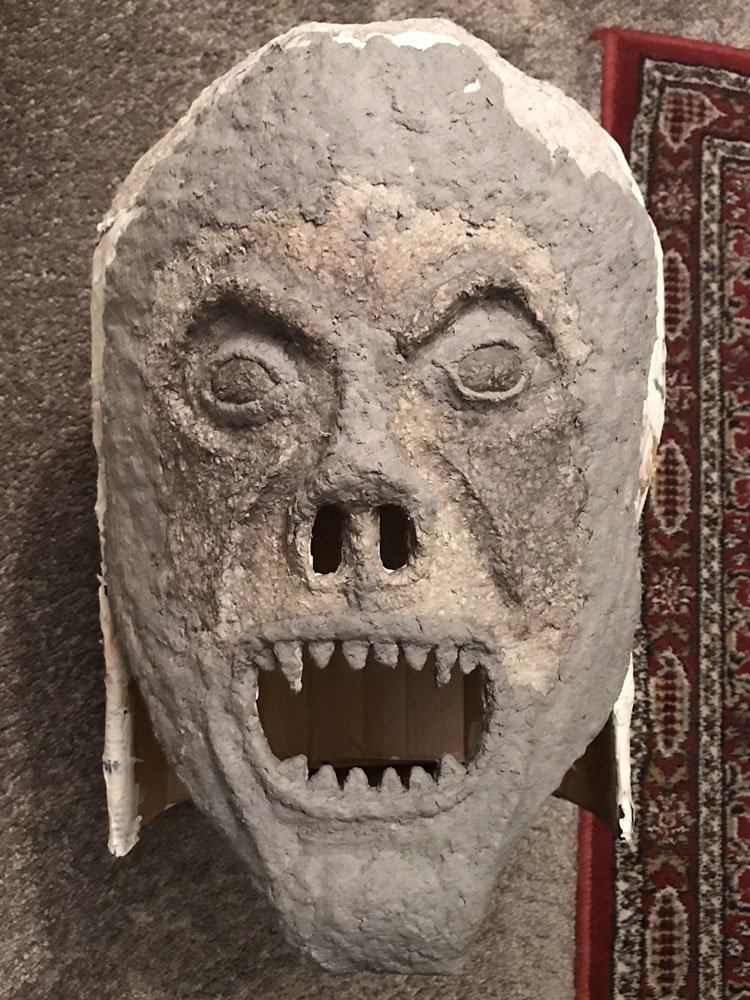
As an anti-capitalist, I really wanted to make a costume to portray the destructive and exploitative greed driving our consumerist societies. At first I considered making a pig head to be worn with a suit and briefcase, something I’d seen before, but a friend rightfully pointed out that it was discriminatory against pigs. Those poor animals are already horrifically abused in our meat industry and victims of capitalism rather than symbols for the evil behind it. So I realized it’s best not to use any animals for this type of representation, as no animal displays behavior that is so deliberately abusive as that of the humans accumulating wealth at the expense of every living being and the planet as a whole. So instead I chose the mythical creature of the vampire, former humans that have transformed into monsters without a a beating heart, without a conscience, and existing to suck the life force out of humans. When I decided to use the vampire, I found some images online that I used as a bit of an example to create a big head of paper-mâché.
For this project, I wanted to use a material that was easily accessible and didn’t involve buying loads of supplies or even finished products in the shop. So I rediscovered the awesomeness of paper-mâché (more correctly but less commonly referred to as the proper French term papier-mâché). I think we have all played around with strips of newspaper and some kind of sticky mess to make an ugly bowl for our mums in kindergarten. But of course the big businesses of our society make no money when we know how to create things out of common household items, so we are tempted by fancy hobby materials and easily accessible finished products. For this reason, paper-mâché is a perfect material to object to capitalism and I gained a new appreciation for it in the process of making and using it. But first, I did some research on people sharing similar paper-mâché projects. I mostly ended up following the instructions shared by ArtsyDork (see also her students’ finished heads). I found additional inspiration on these pages by WVartist, MyArtLesson, and The Grove Guy. And these HubPages also provide loads of valuable links for paper-mâché recipes and fun projects. Let me describe how I did it and what I learned!


Materials used:
Sturdy used boxes
Wide paper tape
Old newspapers
All-purpose flour
Gesso & acrylic paints
Five steps:
Making a base structure
Shaping it with filling & tape
Layering paper-mâché strips
Using paper-mâché clay to mold the details
Painting the project
I mostly wanted to use eco-friendly and circular materials, so that meant using old boxes, paper tape, newspaper, and flour. Some projects use plastic fillings and paper-mâché recipes with glue, but I tried to keep it as simple and natural as possible. Obviously the acrylic paint is not quite so eco-friendly. I didn’t have the time to research possibilities for better alternatives and I am not sure whether that would be realistic. Any suggestions are welcome!
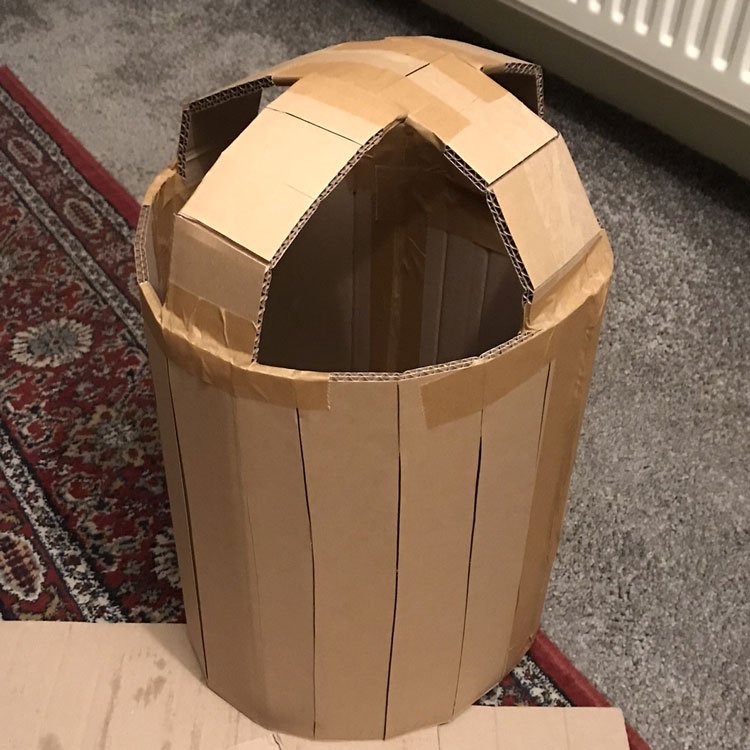
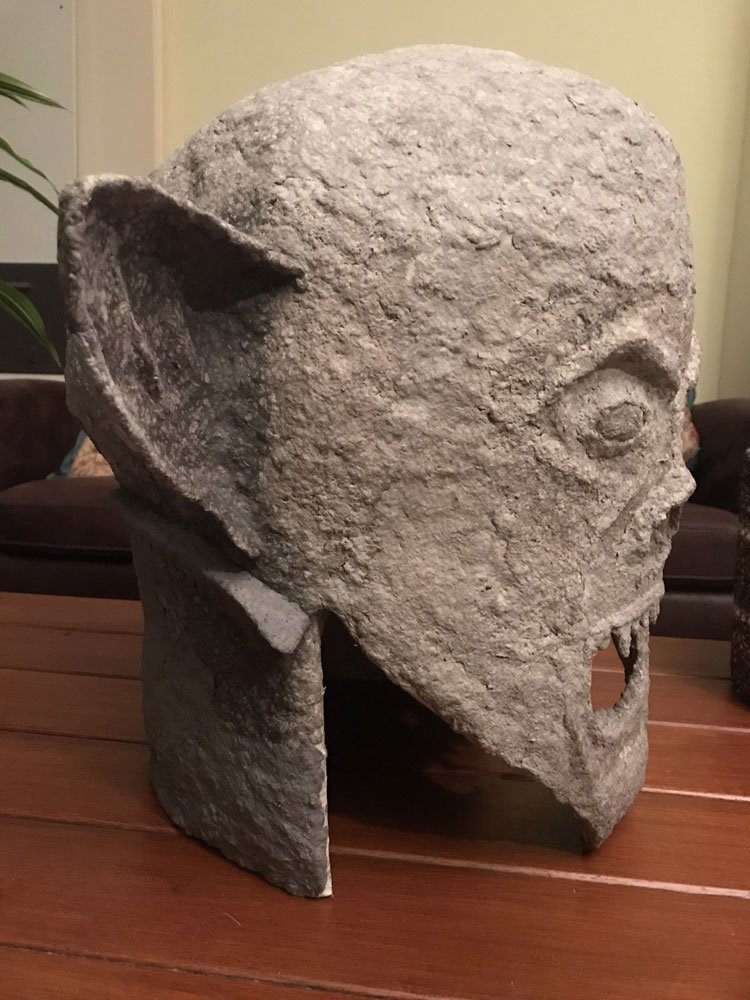
As for the base structure, I use the simplest set-up by rounding pieces of cardboard around a bucket, scoring the outside part to make it bendy, and adding an x-structure on top. Lots of projects take a more 3-d approach from the start by putting together smaller pieces of cardboard or creating metal frames. I tried to give the head more shape by taping dry wads of newspaper to the structure, but found it a bit tricky for the facial details. In the meantime, I had discovered the possibility of making paper-mâché clay, so decided to cover the whole thing with paper-mâché strips and then using the clay to add more details. For the paper-mâché strips, recipes online generally follow this composition:
Recipe paper-mâché paste for strips
1 cup of flour
1 cup of water
1 tsp of salt to prevent mold
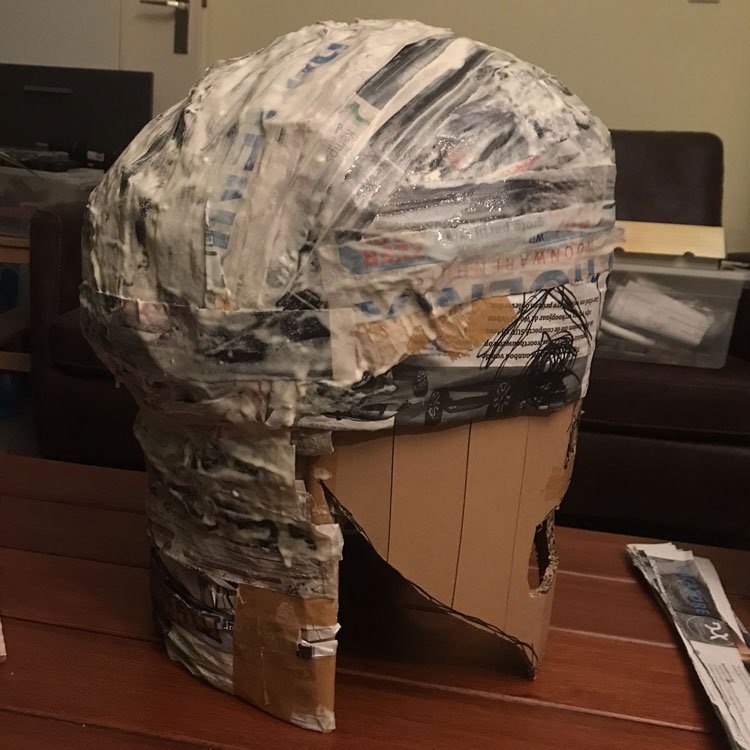
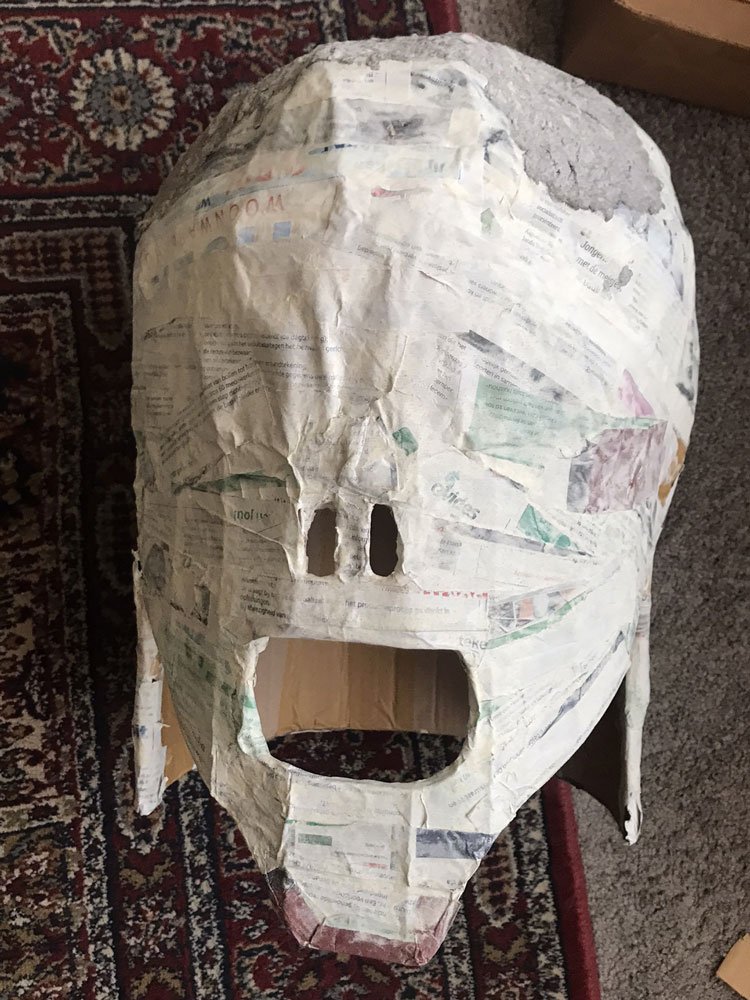
I cut newspaper strips and dipped them into the mixture, removing the excess with my fingers, and then adding the strips onto the project. This approach was terribly messy and wet, dripping all over the place. A better way would probably be to apply the paste with a brush onto the surface, then laying the dry strips over it, and covering it with more paste. Either way, don’t add too many layers and make sure to dry it really well. I put my head next to the radiator in winter and it took several days to dry properly.
After I had covered the head with the strips, I started working with the clay. I used recipe 3 by A Piece of Rainbow with paper, flour, and a cooked flour paste and finetuned it a little bit:
Recipe paper-mâché clay
30 newspaper pages cut into small pieces
2-2.5 cups of flour
1 cup of water
1 tbsp of salt
2 tbsp of vegetable oil
Directions:
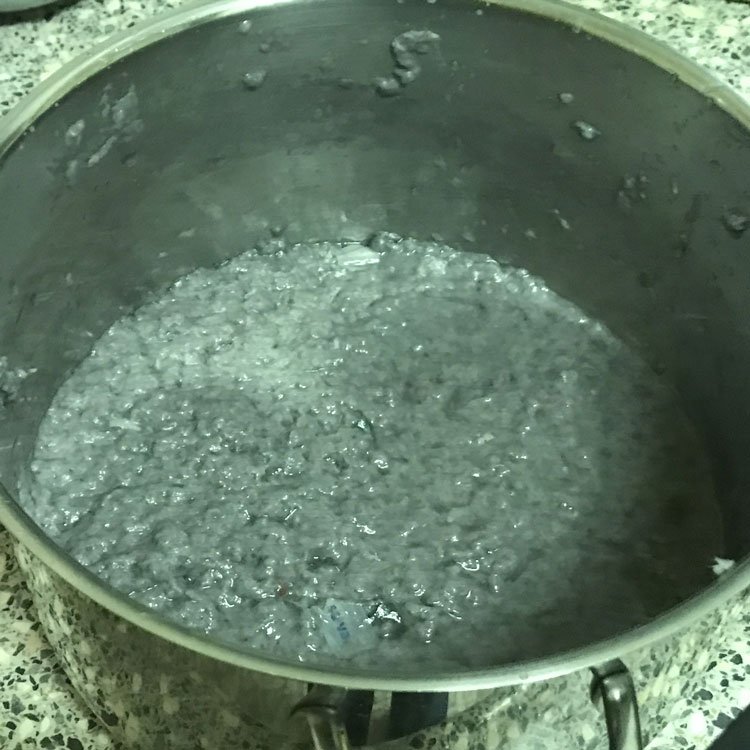
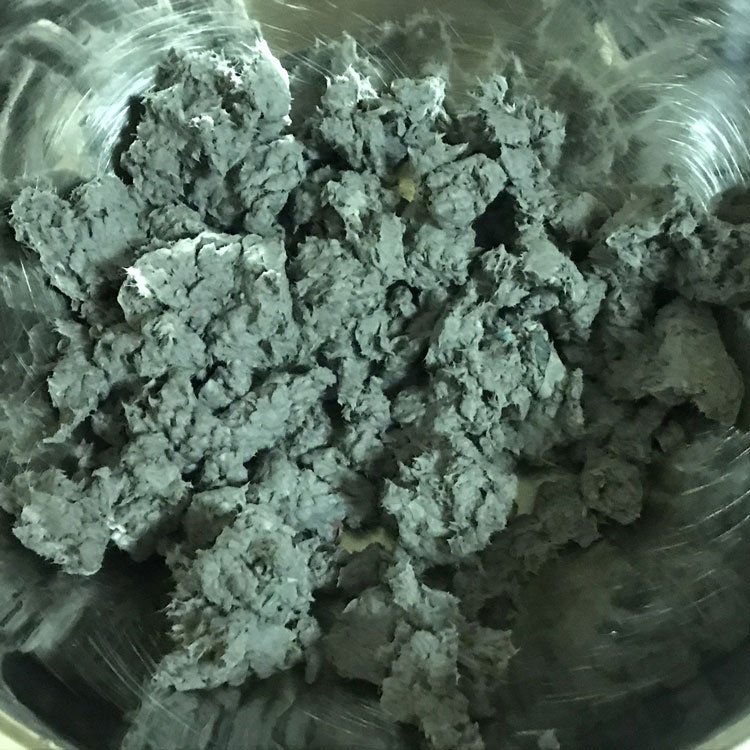
Make the pulp: soak the pieces of newspaper in water for one hour, then use a stick blender to grind it all up, and drain the water using a sieve. I then used my hands to take portions of mushy paper to squeeze out the water as good as possible. You can also use a cheese cloth. Your hands will turn grey because of the ink in the paper, but it washes off pretty easily. Break the clumps of paper up into smaller pieces and put them in a bowl.
Important note: if you use a plastic stick blender, it may turn grey because of the ink and it may not be so easy to clean, so best to use an old one that will not be used for food or to use one made of stainless steel.
Make the flour glue: mix 1/2 cup of flour with 1 cup of water with a whisk and put it on the stove on low heat. Keep whisking well and scraping the bottom and edges as the mixture thickens to avoid burning. It thickens quite quickly. Take it off the heat source when it reaches the consistency of mayo. Let it cool.
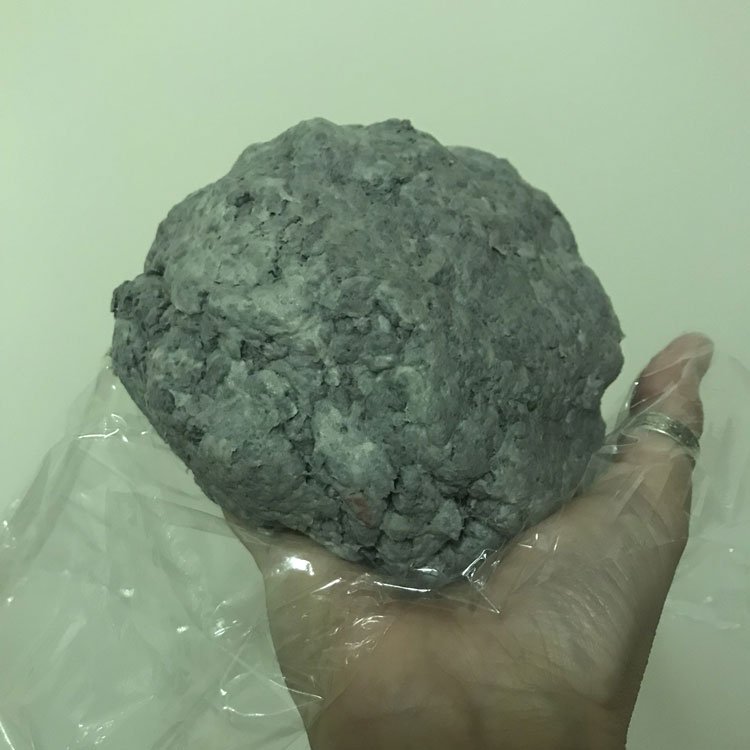
Add 1.5-2 cups of flour, the flour glue, the salt, and the oil to the pieces of paper pulp and mix it into a dough. I used my hands, but you can also use a dough scraper. The dough shouldn’t be too sticky. If it is, add some more flour.
You can use the dough right away or keep it wrapped up in the fridge for 2-3 weeks or store it in the freezer.

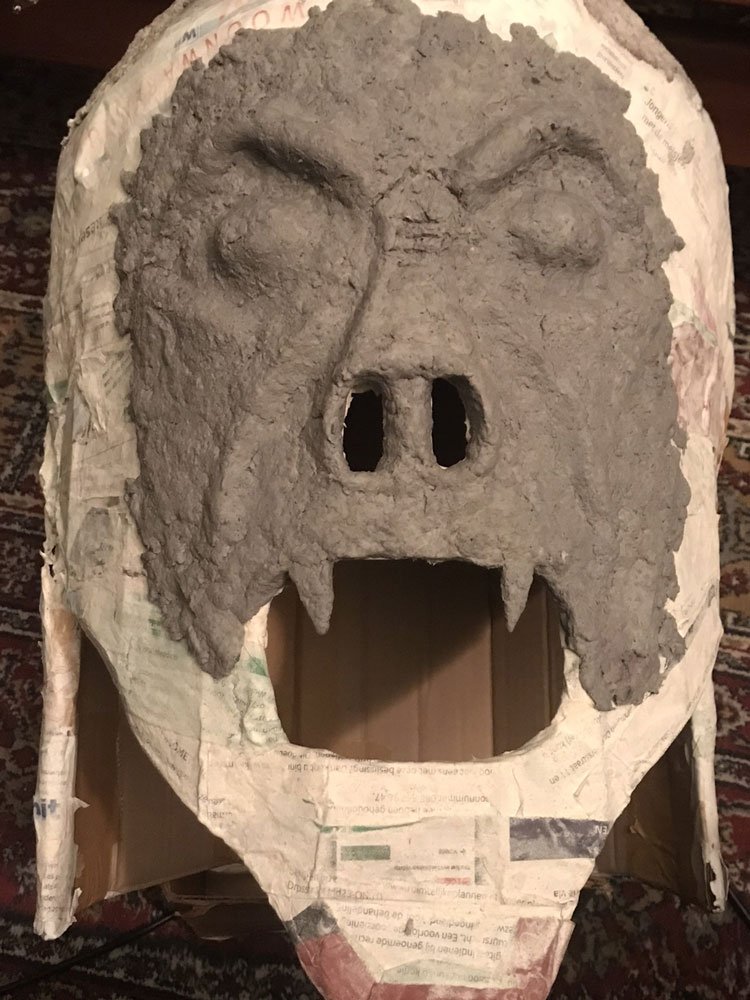
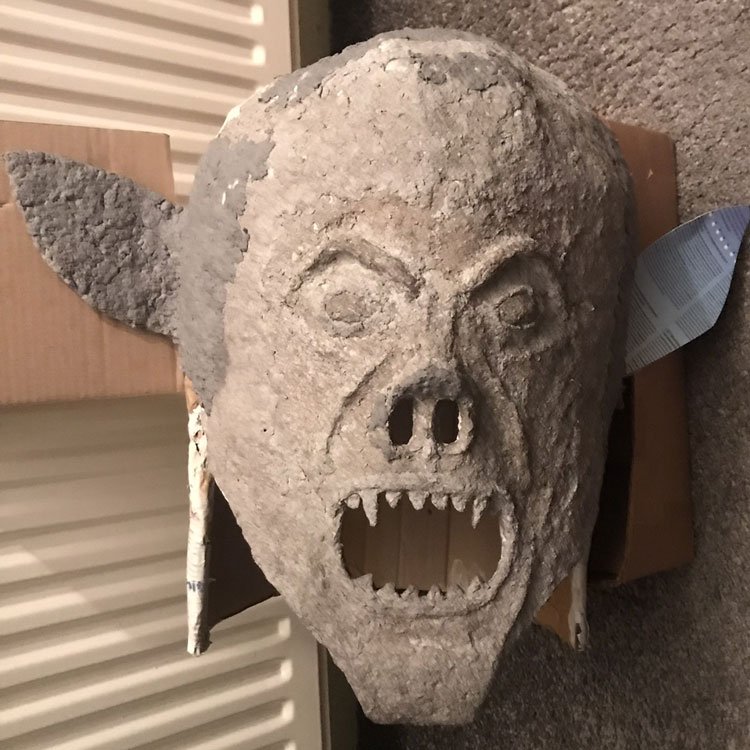
I made three or four batches of clay for the vampire head. Overall, I was quite impressed how easy it was to work with. The downside it that it is a little chunky, so there is some structure. And if the clay is rather wet, it will be difficult to create solid shapes. In my case, the teeth and ears were a bit tricky. I should have created the base for the ears earlier in the process. Now I basically taped thin pieces of cardboard to the head and added layers of clay. The cardboard absorbed the moisture and turned limp and bendy, so I had to support it in the right position while drying before adding new layers.
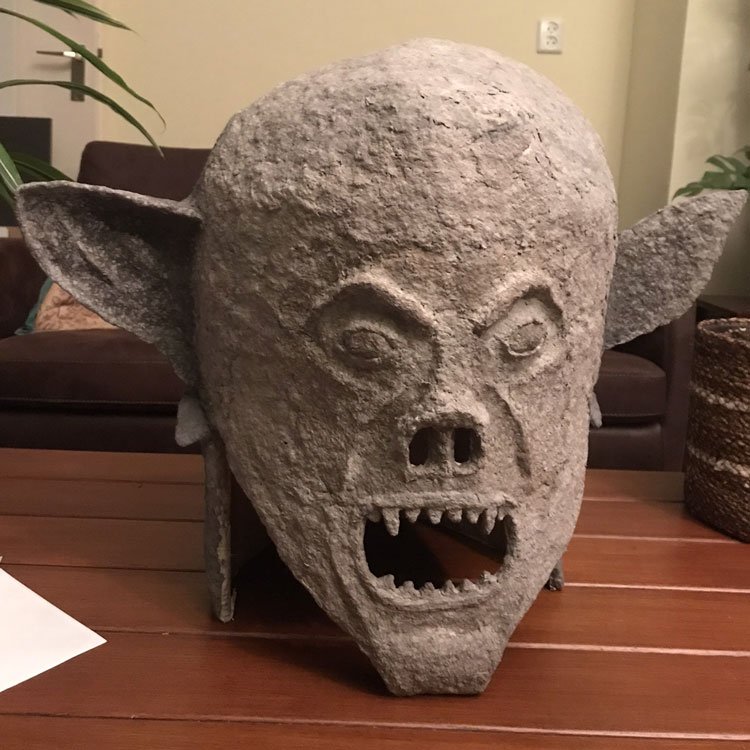
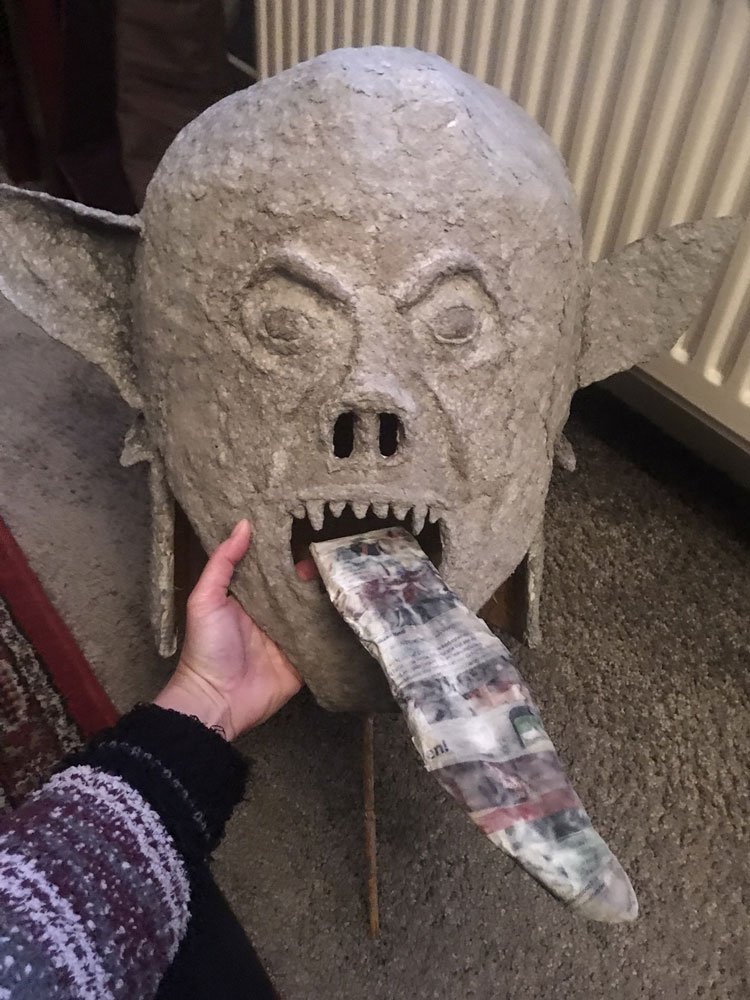
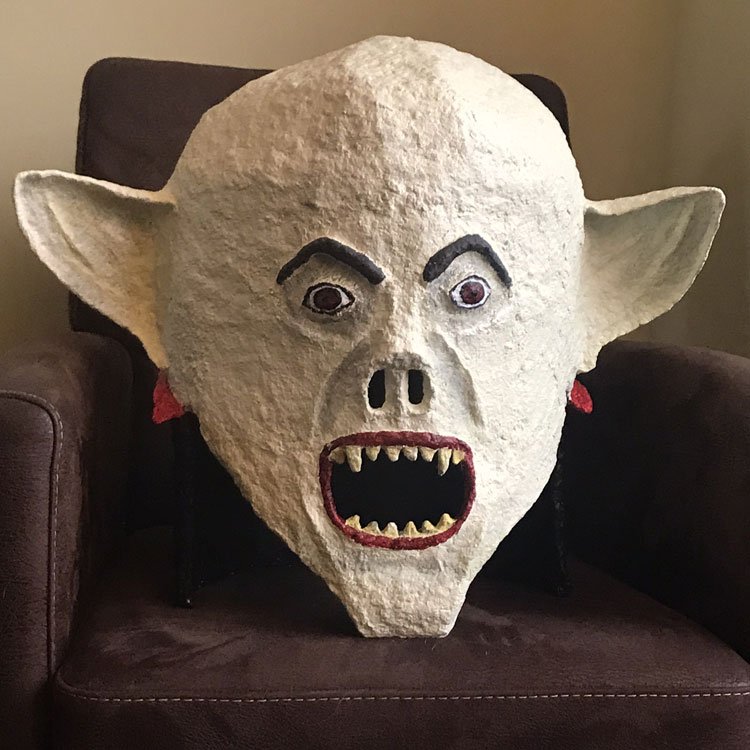
Overall, it turned out much better than I’d expected for a first try! And I had a lot of fun in the process. Somewhere I came up with the idea to add a tongue on a stick, which I’d be able to stick out through the mouth and move side to side by turning the stick. I made it following the same steps: cut out cardboard in the right shape, taped on filling for shape, covered it with paper-mâché strips, and then with a layer of clay.
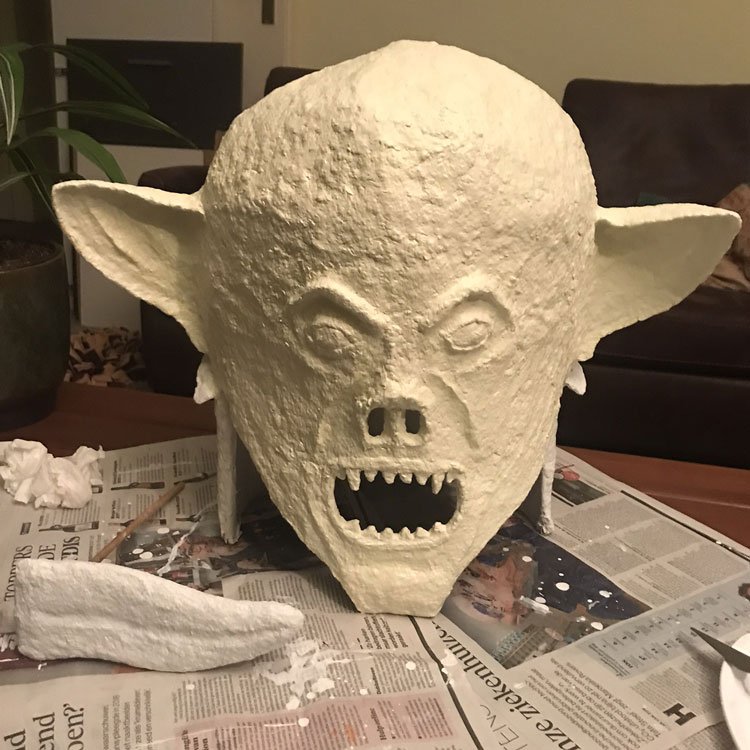
Finally I covered everything with a layer of gesso, after which I painted it with acrylic paints. I didn’t use any kind of protective layer. The paper-mâché turns rock hard after drying and can certainly handle some moisture or other abuses. Normally, acrylic paint should also be able to manage some moisture or even a bit of light rain. Using this in a downpour for a long time will probably lead to problems though. So if there is a possibility that this will happen, you should research ways to waterproof your project.
I stretched this project over the course of 1.5 month. I really liked the fact that I could work on this in small steps. Because of the drying required, paper-mâché is not really suitable for rush projects, but if you use few layers and keep it all quite simple and thin, it’s definitely possible to create something awesome in only a few days.
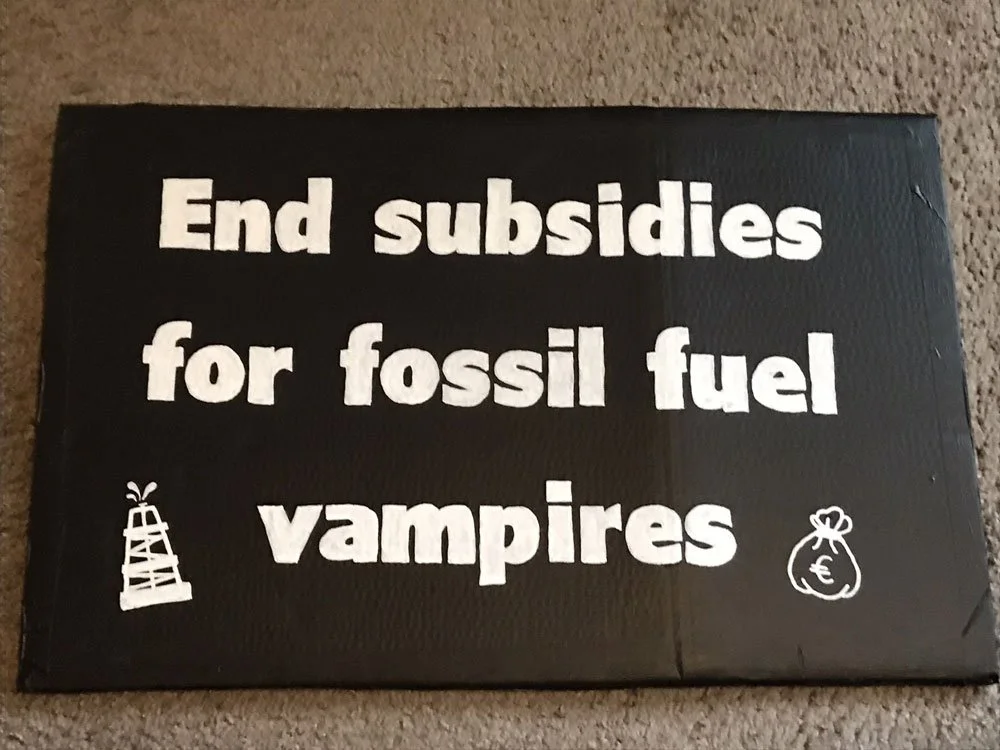
Making a protest sign
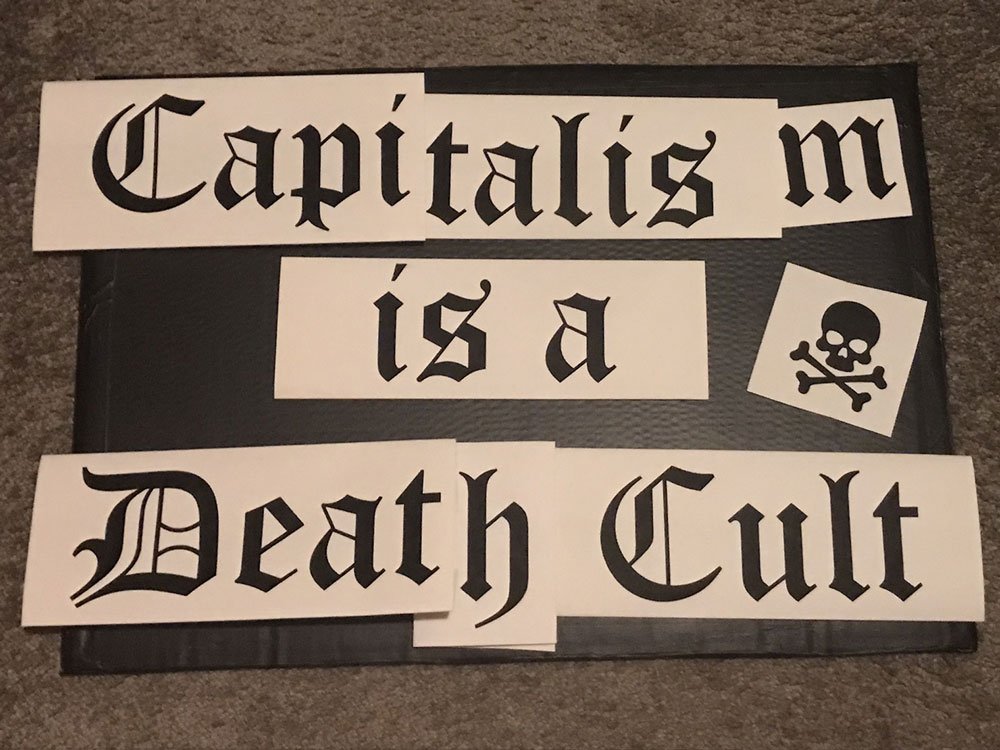
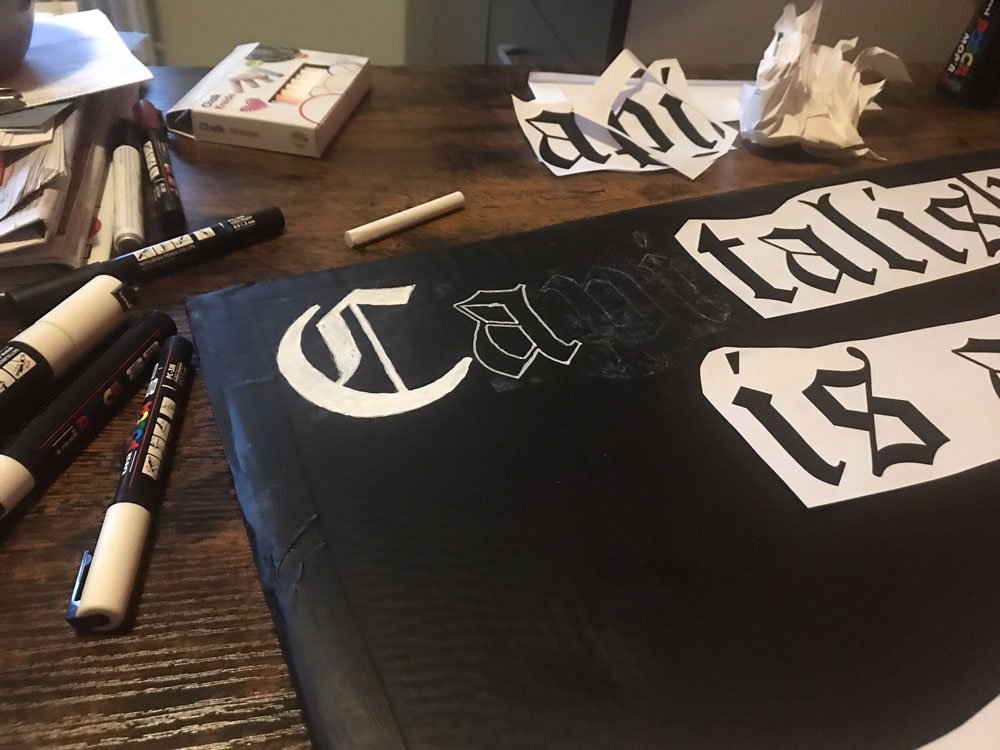
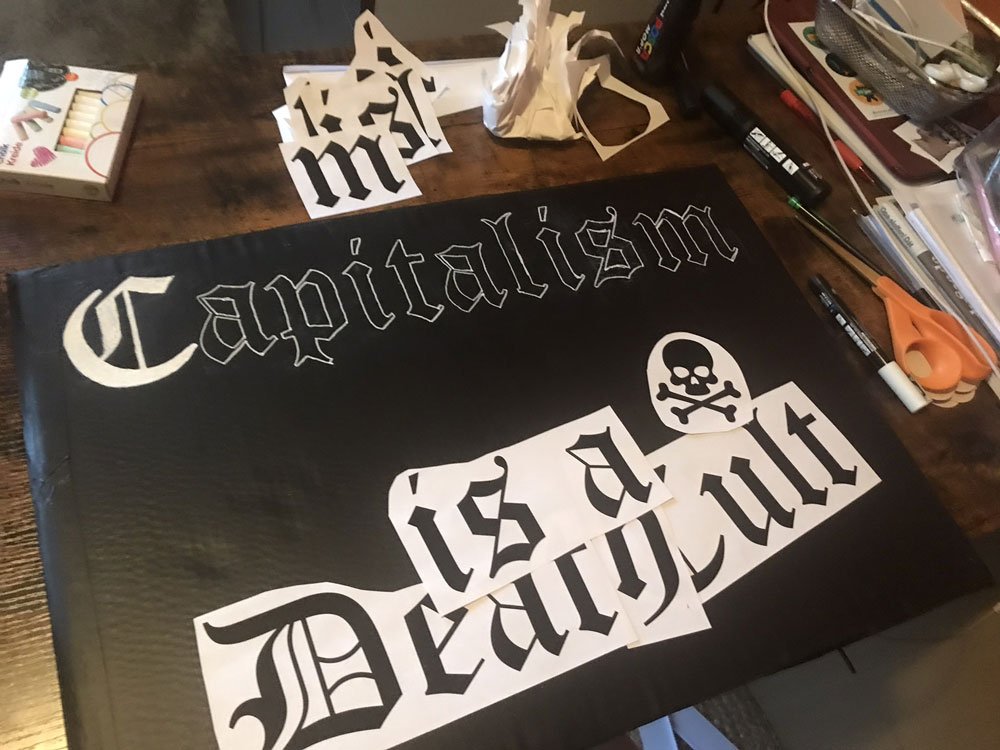
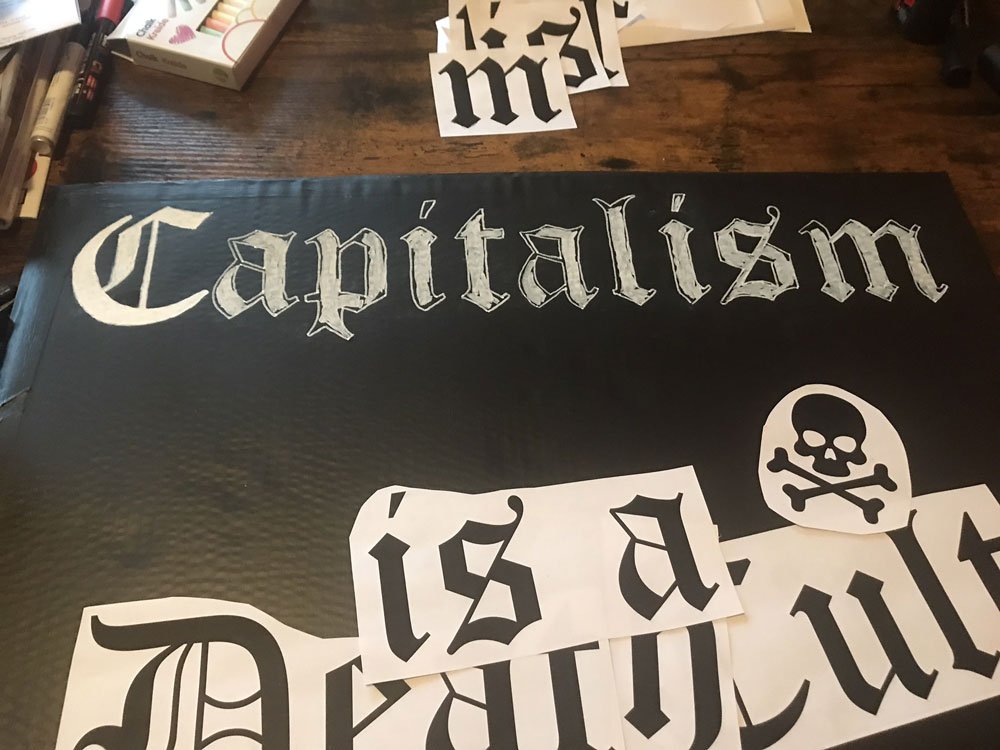
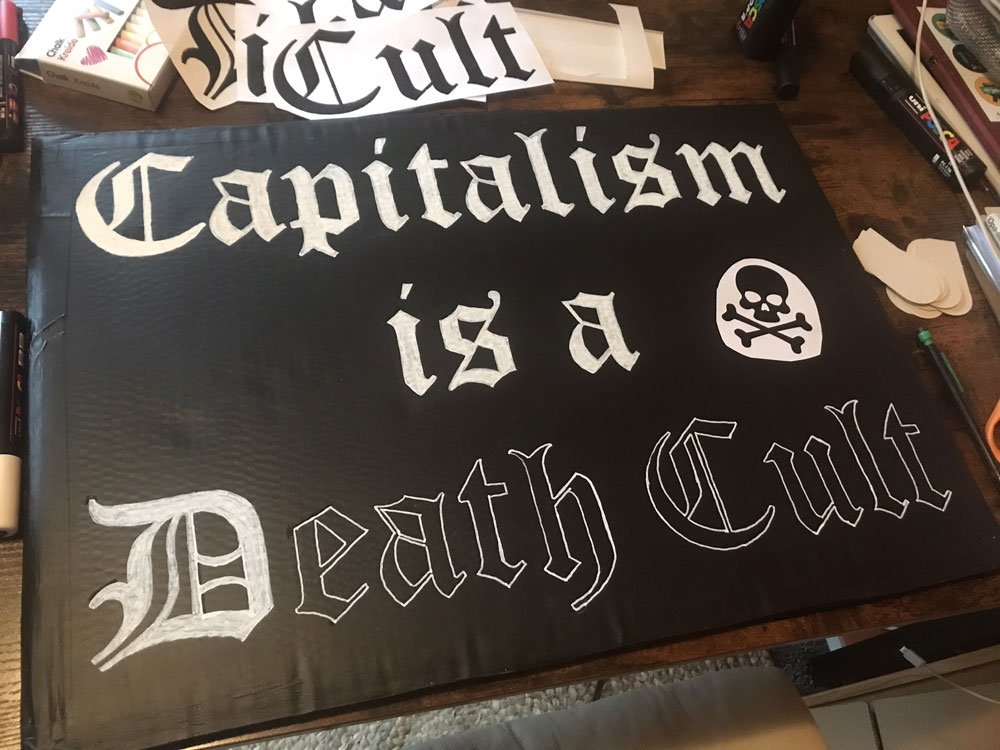
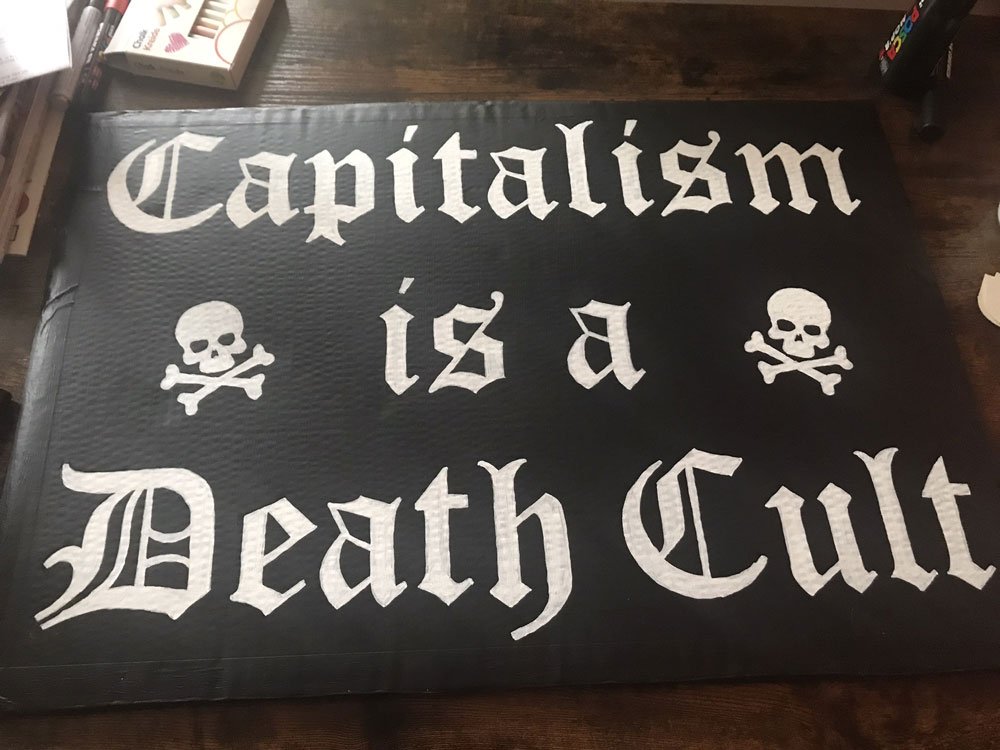
Now, I also wanted to make a nice sign to go with the head and, since I was in a strong anti-capitalist mood, I went with “Capitalism is a Death Cult” for my slogan. I’d seen it on some stickers and it was a perfect match for my vampire, especially in combination with a Old English font. I made a sign by glueing and taping two large, equally sized sturdy pieces of cardboard on top of each other for added strength (our shoddy cardboard signs often become weak and bendy when used outdoors in crappy weather). I covered both sides in 2-3 layers of gesso and painted one side black. I got thick acrylic paint markers, which you can get in various sizes and colors at an art supplies shop. There was no way I’d be able to write the letters freehand, so I found a tip online to print your design on a piece of paper, cover the back with white chalk, put it on top of the surface print side up, and trace the design with a sharp pencil. You’ll then have the chalk outline of the letters on the background, which you can cover with the paint markers. Worked like a charm! For light backgrounds, you can use a darker color chalk or tracing paper.
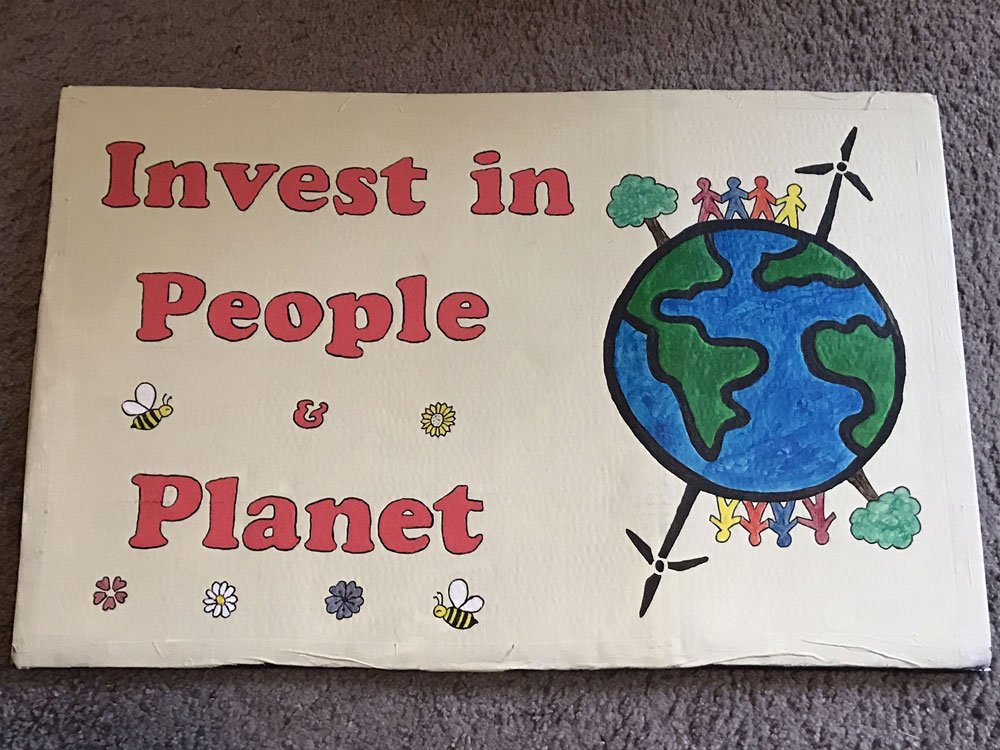
As I finished this side of the sign and had planned for a happier back side in a bright color, I realized that the XR protest I was about to attend, against €39.7-46.4 billion (!!!) annual subsidies from the Dutch government to the fossil fuel industry, required a more specific message. So I made a new sign with “End Subsidies for Fossil Fuel Vampires” on the dark side, and “Invest in People & Planet” on the happy side.
Artivism in practice
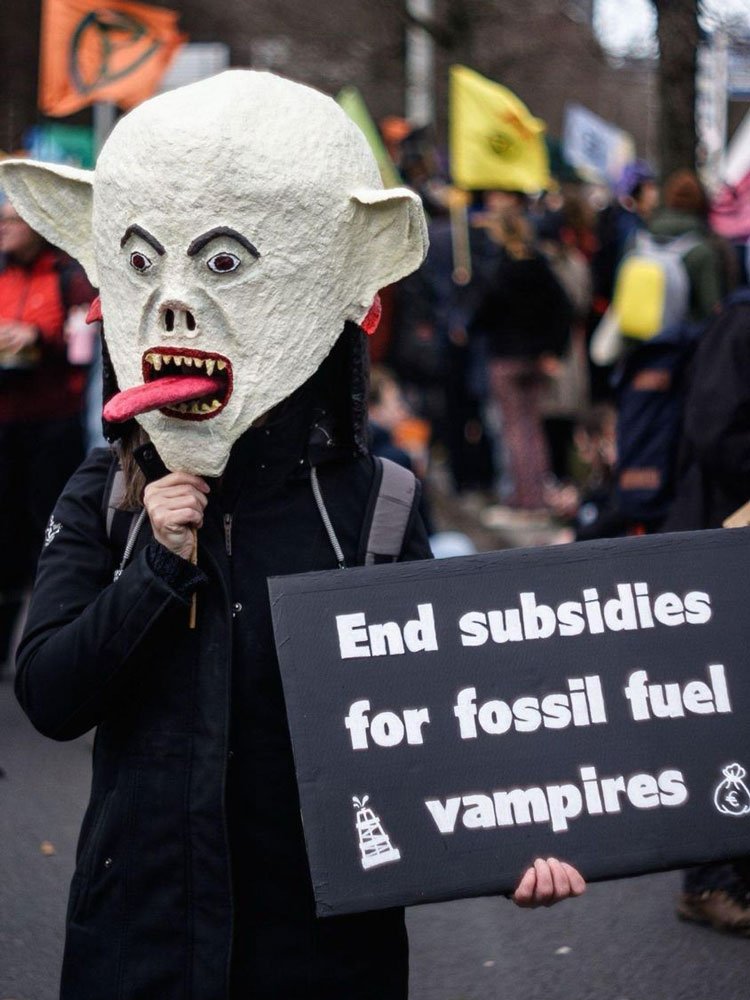
Now, of course, I put vampire head & protest sign together for the XR action against fossil fuel subsidies in The Hague on 3 February. It worked quite well and it was a lot of fun to see people’s reactions and smiles. Loads of people took pics or videos. The moving tongue especially was a big hit, see it in action in this XR video of the day at 0:18! The video also features the pump jacks I mentioned in the previous Part 1 post, and some other fun costumes, signs, banners, flags, music, and chants.
This was the 36th edition of this particular action at this particular spot. It started about 1.5 years ago with a few people blocking the first section of a highway located between the Ministry of Economic Affairs and Climate and the temporary parliament building. More and more people started participating with each new edition, either inside the action itself (arrestables) or in the support demo on the side (non-arrestables), and more and more organizations publically announced their support. Last fall, in September and October, XR organized a marathon action and returned to block the highway every day for a total of 27 days, until there was some political movement towards ending fossil fuel subsidies. When those movements fell through in December, XR decided to return for the first time on 3 February and actions will continue regularly again as long as fossil fuel subsidies exist.
I have joined this action several times before. This time, carrying big props that could be damaged or confiscated during an arrest, I decided to remain in the support demo on the side. Ultimately almost 1000 activists were arrested on this day. Here is a news item about it in English on NL Times. The experience has taught us that there is no solid legal basis for imposing fines. This means, activists are taken by police, put in buses, driven away to another location, where they may be processed (not always) and are released. As very common with XR actions, there was excessive use of force by police on peaceful protesters, using mean wristlocks and nose holds that cause a lot of pain. One activist had his ribs broken when a police office roughly and deliberately leaned a knee on his rib case, first on one side and then the other (see also this XR video in Dutch). Water cannons were standby, but thankfully not used this time. Politicians and police regularly complain about XR actions because of the police capacity supposedly needed and ask for tougher measures, even the criminalization of the entire organization. Of course, police interference in the action is a choice, not a necessity and the contrast with the attitude towards the Dutch farmers’ protests in the same week is extremely telling. The farmers blocked several highways, made big fires, dumped manure, trash, and asbestos, and created dangerous situations that led to one car accident where someone got badly injured, but there were no immediate police interventions to end the blockades and only two people were arrested days later…
But I am getting sidetracked here. Back to the artivism! Of course, my vampire artivism was just a small project by one person with no real performance or bigger strategy. It was a fun experiment and I will probably use the head again some time. Most of all, I will keep thinking about potential creative ways to support or organize actions. New unexpected approaches to address issues keep the movement fresh and may draw in different audiences, as well as counterbalance the tensions around the arrests and police violence.